
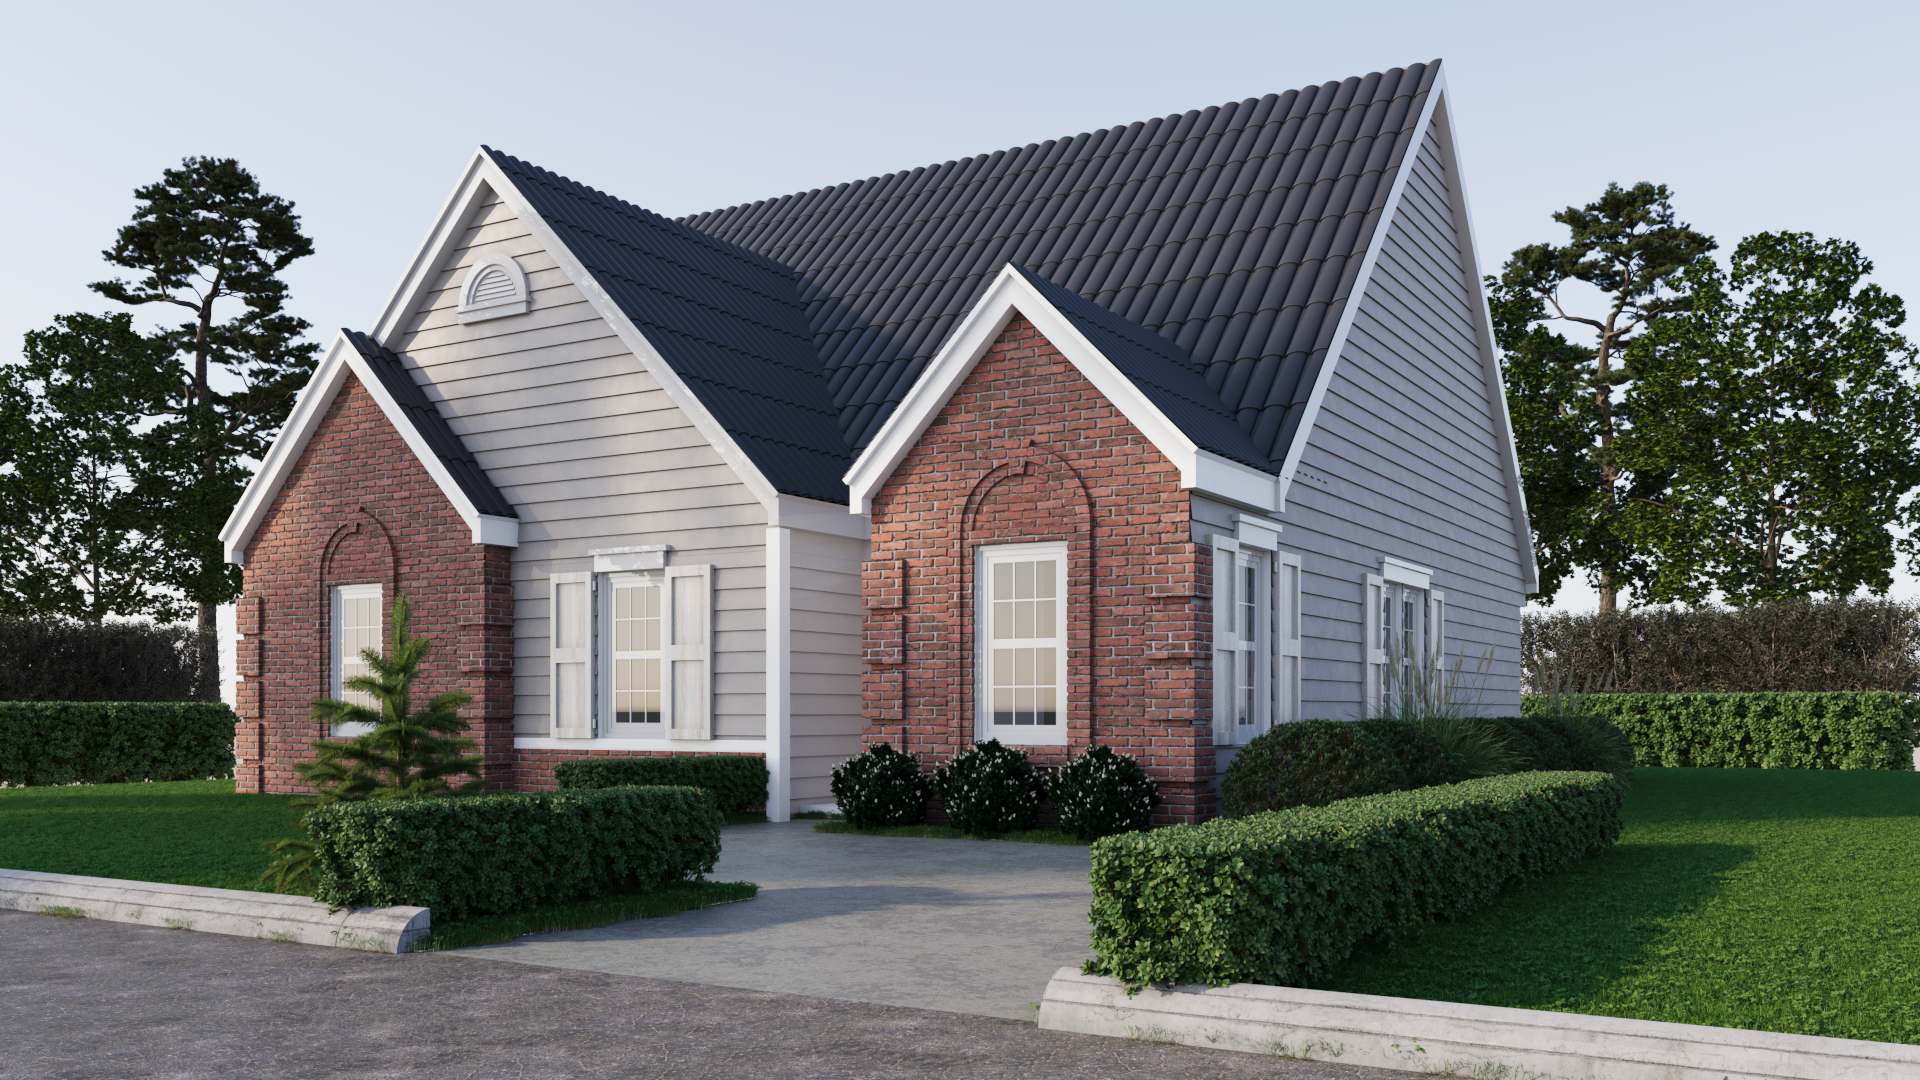
There are many reasons you might want a 3D floor plan made. Maybe you’re amending an existing 3d floor plan as part of a remodeling project or part of other home design projects. Maybe you need a floor plan rendering for real estate marketing or augmented reality like the ones used in virtual reality tours. Creating a 3D floor plan is an essential skill for architects, interior designers, real estate professionals, and anyone involved in building design and visualization.
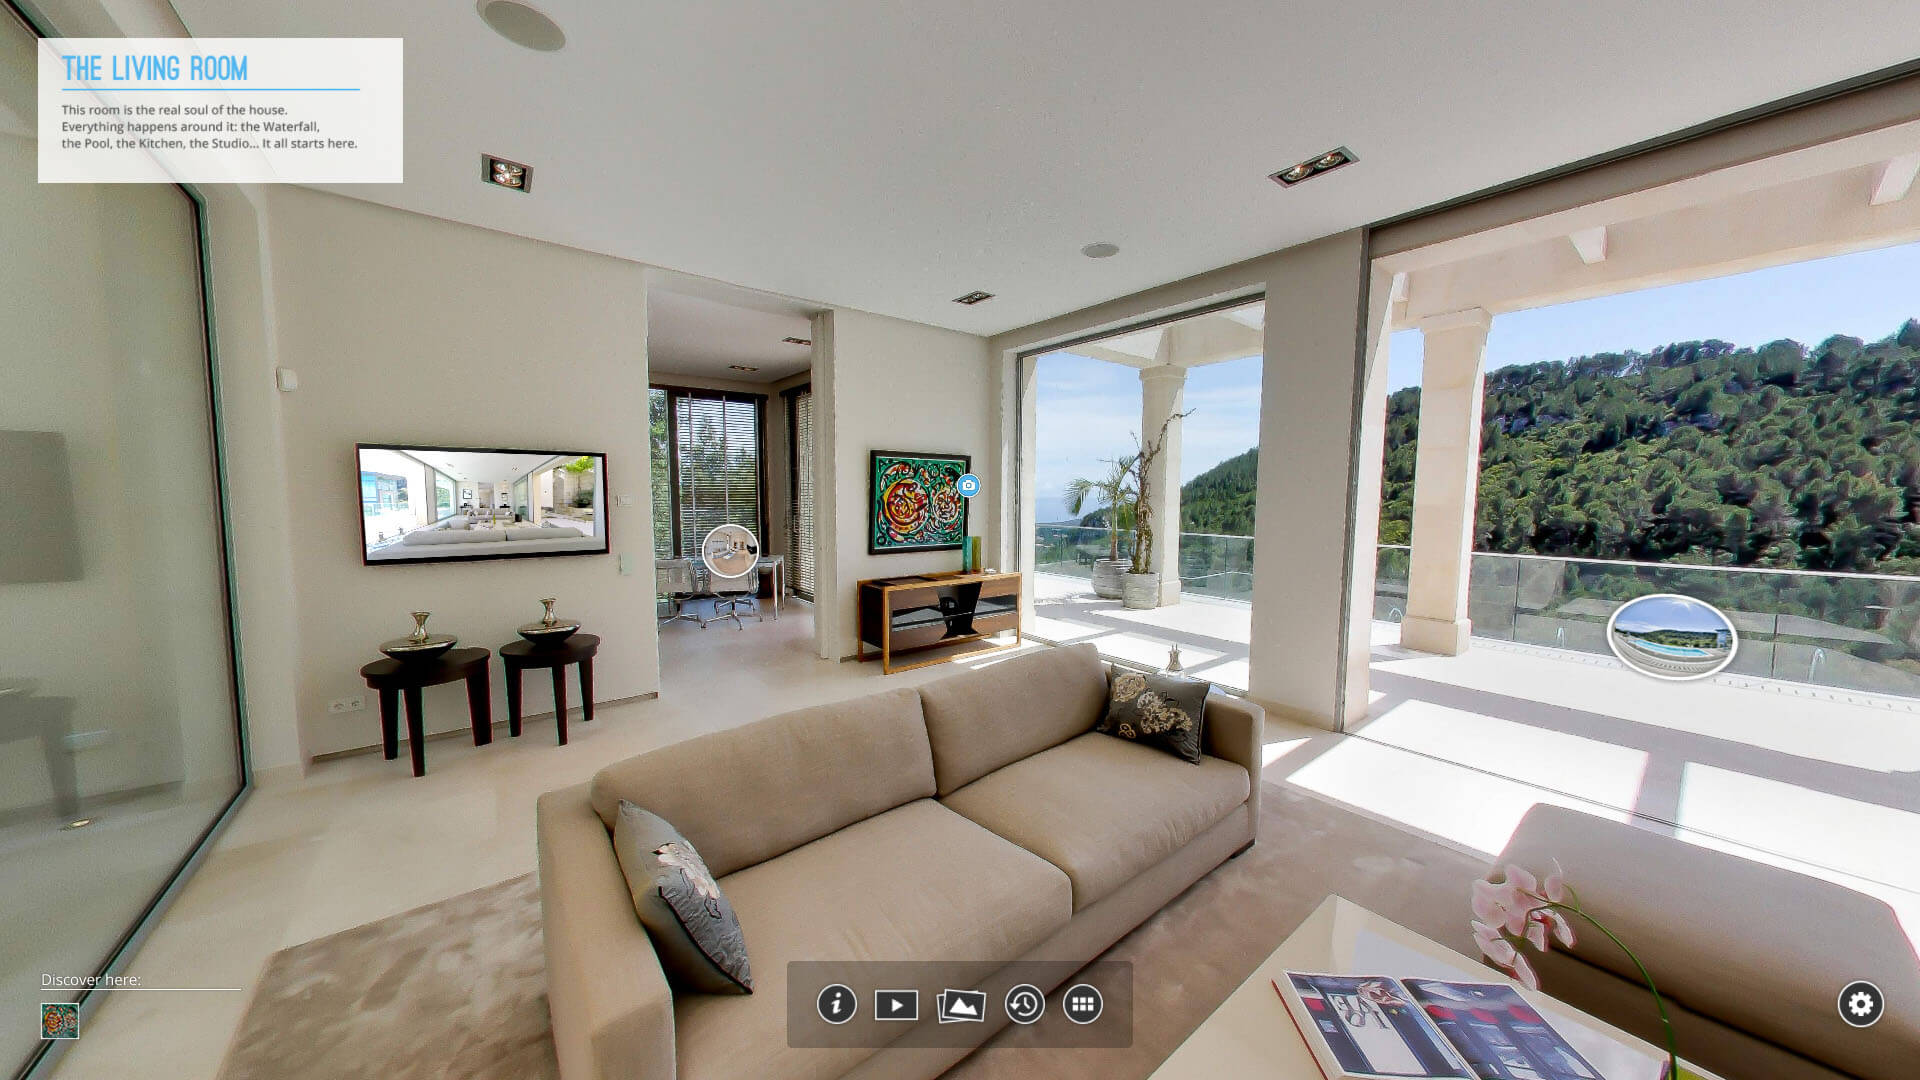
A 3D floor plan provides a detailed, interactive representation of a space, allowing clients and stakeholders to visualize how the design will look in reality. It offers a clear and engaging way to showcase the layout, furniture placement, and spatial relationships within a building, making it easier to communicate design ideas. In this blog, we’ll guide you through the process of making a 3D floor plan, covering everything from initial concept to final rendering.
1. Start with the Basics: Understanding the Space
Before you dive into creating a 3D floor plan, it’s crucial to understand the space you’re working with. This involves gathering all the necessary measurements, blueprints, and design requirements. Knowing the dimensions, architectural features, and functional needs of the space will ensure accuracy and efficiency throughout the process.
When understanding the space of your plan you have to gather dimension that is measure the length, width, and height of each room. Include details like window and door placements, ceiling heights, and any architectural elements such as columns or beams. Analyze the layout by understanding the flow of the space, how rooms connect, where the main entry points are, and how natural light interacts with different areas. You also have to determine the function of each room or area within the floor plan. This will guide your decisions on furniture placement, color schemes, and lighting.
2. Choose the Right Software
To create a 3D floor plan, you’ll need reliable software that offers the tools and flexibility to bring your vision to life. The software you choose will depend on your experience level, the complexity of the project, and the specific features you need. The following are the popular 3D floor software you can use for your floor plan
- SketchUp: Ideal for beginners and professionals alike, SketchUp offers intuitive modeling tools and a large library of pre-made objects.
- AutoCAD Architecture: For professionals who need precision and advanced features, AutoCAD Architecture provides comprehensive tools for 3D modeling and drafting.
- RoomSketcher: A user-friendly option for creating floor plans quickly, RoomSketcher allows you to draw in 2D and view your design in 3D instantly.
- Sweet Home 3D: Great for interior designers, this free software offers easy-to-use tools for creating detailed 3D floor plans with furniture placement.
- Revit: For those working in the architecture and construction industries, Revit offers advanced BIM (Building Information Modeling) features that integrate 3D floor plans with other building systems.
3. Create the Basic Floor Plan in 2D
Before jumping into 3D, start by creating a basic 2D floor plan. This serves as the blueprint for your 3D model and ensures that all the dimensions and layouts are accurate. Using your software’s drawing tools, outline the walls of each room. Ensure that all dimensions match your measurements. Place doors and windows in the appropriate locations. Pay attention to the swing direction of doors and the size of windows. A well-crafted 2D floor plan provides a clear and accurate guide for transitioning to 3D, ensuring that your model is built on a solid foundation.
4. Transition to 3D Modeling
Once your 2D floor plan is complete, it’s time to bring it to life in 3D. This step involves extruding walls, adding floors and ceilings, and placing furniture and fixtures. The following are the steps to follow when transiting into 3D.
- Extrude the Walls: Use your software’s extrusion tools to convert the 2D walls into 3D. Adjust the height of each wall according to your measurements.
- Add Floors and Ceilings: Create floors and ceilings by defining their thickness and material. Ensure they align correctly with the walls.
- Place Furniture and Fixtures: Populate the 3D floor plan with furniture, fixtures, and other elements. Most software provides libraries of objects you can drag and drop into your model. Be mindful of scale and placement to maintain a realistic appearance.
- Apply Materials and Textures: Choose materials and textures for walls, floors, and furniture to enhance realism. Experiment with different finishes to see what works best for your design.
5. Fine-Tune the Details
Fine tuning your 3D floor plan involves adjusting lighting, adding realistic textures, and ensuring that all elements are perfectly aligned. This step is crucial for creating a polished and professional final product. Experiment with different lighting settings to simulate natural and artificial light sources. Consider the time of day and how light interacts with various surfaces in the space. Ensure that all textures are applied correctly and at the right scale.
Adjust the bump and displacement settings for added realism. Double-check all measurements, placements, and alignments to ensure that the 3D model accurately reflects the real-world space. By paying attention to the finer details, you can create a 3D floor plan that not only looks stunning but is also highly accurate and functional.
6. Render and Export the Final 3D Floor Plan
Rendering is the process of generating the final image or animation of your 3D floor plan. This step brings together all the elements including lighting, textures, and materials into a cohesive, high-quality visual. Select the appropriate render settings for your project. This includes resolution, lighting quality, and rendering time. Start the rendering process, which may take anywhere from a few minutes to several hours, depending on the complexity of your model and the quality settings. Once the rendering is complete, export the final image or animation in the desired format. Common formats include JPEG, PNG, and MP4 for videos.
Conclusion
Creating a 3D floor plan is a powerful way to visualize and communicate your design ideas. By following these steps, understanding the space, choosing the right software, starting with a 2D plan, transitioning to 3D, fine-tuning the details, and rendering the final product so you can create detailed and realistic 3D floor plans that impress clients and enhance your design process.
Whether you’re an architect, interior designer, or real estate professional, mastering the art of 3D floor planning will set you apart in the industry, offering a dynamic tool that elevates your projects and presentations.

