
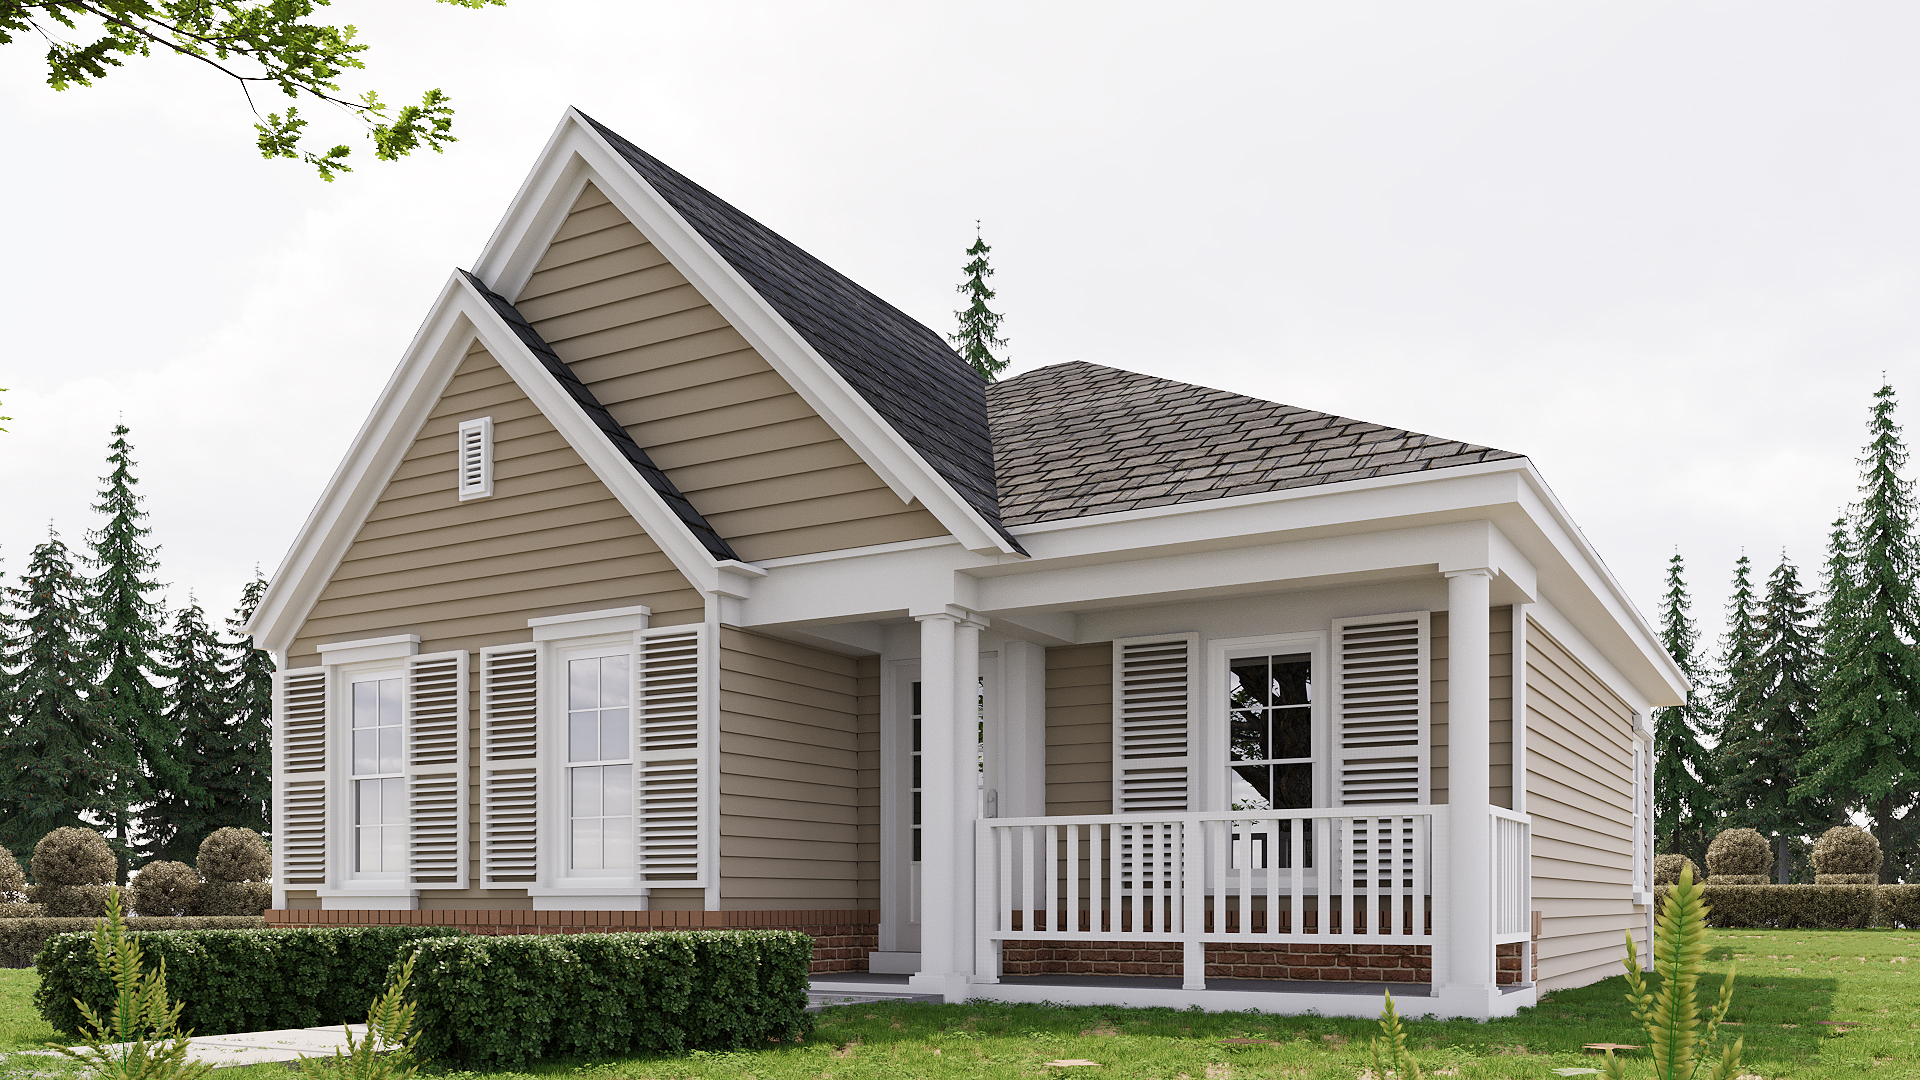
Texturing in 3D modeling is a critical step in the creation of realistic and visually appealing 3D models. It involves the application of images, patterns, and colors to the surface of a 3D model to give it depth, detail, and a lifelike appearance. Without texturing, 3D models would look flat and uninteresting, lacking the visual cues that make objects recognizable and engaging.
What is Texturing in 3D Modeling
Texturing is the process of mapping a 2D image (often called a texture map) onto the surface of a 3D model. This texture map can include a variety of visual details, such as colors, patterns, and surface imperfections like scratches, dirt, or bumps. The goal is to make the model look more realistic and believable.
Basic of Texturing in 3D Modeling
- UV Mapping: Before a texture can be applied to a 3D model, the model’s surface needs to be unwrapped into a 2D plane. This process is known as UV mapping, where U and V refer to the horizontal and vertical axes of the 2D plane. UV mapping allows the texture to be accurately applied to the 3D model without distortion.
- Texture Maps: Texture maps are 2D images that are wrapped around the 3D model. These maps can represent various aspects of the model’s surface, such as color (diffuse map), shininess (specular map), and depth (normal map).
Types of Texture Maps
In 3D modeling, different types of texture maps are used to create various visual effects on the model’s surface. Each map serves a specific purpose and is combined with others to achieve the final look.
- Diffuse Map: The diffuse map, also known as the color or albedo map, determines the base color of the 3D model. It’s the most straightforward texture map, representing the color that the object would have under neutral lighting conditions. These are used to paint the basic colors and patterns onto a model, such as the red color of a brick or the green hue of a leaf.
- Normal Map: A normal map is used to simulate small surface details like bumps, dents, and wrinkles without adding extra geometry to the model. It alters the way light interacts with the surface, giving the illusion of depth and detail. These are commonly used to create detailed textures like the grain of wood, the roughness of concrete, or the wrinkles in fabric.
- Specular Map: The specular map controls the shininess and reflectivity of the model’s surface. It determines how much light is reflected off the surface and can be used to create effects like glossiness or metallic shine. These are crucial for materials like metals, glass, or polished surfaces, where reflectivity plays a key role in their appearance.
- Bump Map: Similar to a normal map, a bump map creates the illusion of depth on a surface by altering the way light interacts with it. However, bump maps only affect the shading, not the actual geometry. Bump maps are often used for fine details that don’t require changes in the model’s shape, such as the texture of paper or the grain on a piece of leather.
- Displacement Map: Unlike bump and normal maps, displacement maps actually modify the geometry of the 3D model by moving vertices based on the map’s values. This results in real changes to the model’s surface. Displacement maps are ideal for creating highly detailed surfaces that need to be physically deformed, like the uneven surface of a rocky terrain or the scales of a reptile.
- Ambient Occlusion Map: The ambient occlusion (AO) map is used to simulate the soft shadows that occur in creases, holes, and surfaces that are close together. It adds realism by darkening areas where light would be naturally occluded. AO maps are used in conjunction with other maps to enhance the overall depth and realism of a model, particularly in complex scenes.
Texturing Techniques
Different texturing techniques can be employed depending on the desired outcome, the complexity of the model, and the specific requirements of the project.
- Hand-Painting Textures: These textures involves manually painting the texture map using digital painting tools. This technique allows for complete creative control and is often used in stylized art or when unique textures are required. Hand-painting allows for highly customized textures but can be time-consuming, especially for large or complex models.
- Photorealistic Texturing: Photorealistic texturing involves creating textures that closely resemble real-world materials. This technique often uses high-resolution photographs as the base for texture maps. Photorealistic texturing is ideal for achieving realism, but it requires high-quality source images and can result in large file sizes.
- Procedural Texturing: Procedural texturing uses algorithms to generate textures based on mathematical rules rather than static images. This technique allows for infinite variations and is highly scalable. Procedural textures can be generated quickly and are resolution-independent, but they may lack the fine-tuned detail that hand-painting or photographic textures provide.
- Hybrid Texturing: Hybrid texturing combines multiple techniques, such as using procedural textures for base layers and hand-painting details. This approach leverages the strengths of each method. Hybrid texturing offers flexibility and high-quality results but requires a good understanding of different texturing methods.
Best Practices for Texturing in 3D Modeling
Creating high-quality textures requires attention to detail and a methodical approach. Here are some best practices to follow:
- Plan Your UV Mapping: Proper UV mapping is crucial for ensuring that textures are applied correctly without distortion or seams. Plan your UV layout carefully to make the most of your texture space and avoid stretching or overlapping. Use a checkerboard pattern as a temporary texture to test your UV layout. This will help you identify any areas that need adjustment.
- Use High-Resolution Textures: High-resolution textures provide more detail and reduce the risk of pixelation when the model is viewed up close. However, balance the need for detail with performance considerations, especially in real-time applications. If file size is a concern, consider using lower resolution textures with normal or bump maps to add detail without increasing the texture size.
- Leverage Procedural Textures: Procedural textures can save time and create consistent results, especially for repetitive patterns like wood grain, bricks, or fabric weaves. They are also easy to modify and scale. Combine procedural textures with hand-painted details for the best of both worlds—quick base textures with custom refinements.
- Optimize for Performance: High-quality textures can be demanding on hardware, especially in real-time applications like games. Optimize your textures to maintain a balance between visual quality and performance. Use texture compression and mipmaps to reduce the performance impact without sacrificing too much quality.
Conclusion
Texturing is an essential aspect of 3D modeling that brings your models to life. By understanding the different types of texture maps, mastering texturing techniques, and utilizing the right tools, you can create visually stunning and realistic 3D models. Whether you’re working on a character for a video game, an architectural visualization, or a product design, high-quality texturing is key to achieving professional results.
Remember, the best textures are those that not only look good but also convey the right material properties and respond well to lighting. With practice and attention to detail, you can elevate your 3D models to a new level of realism and visual appeal.

