
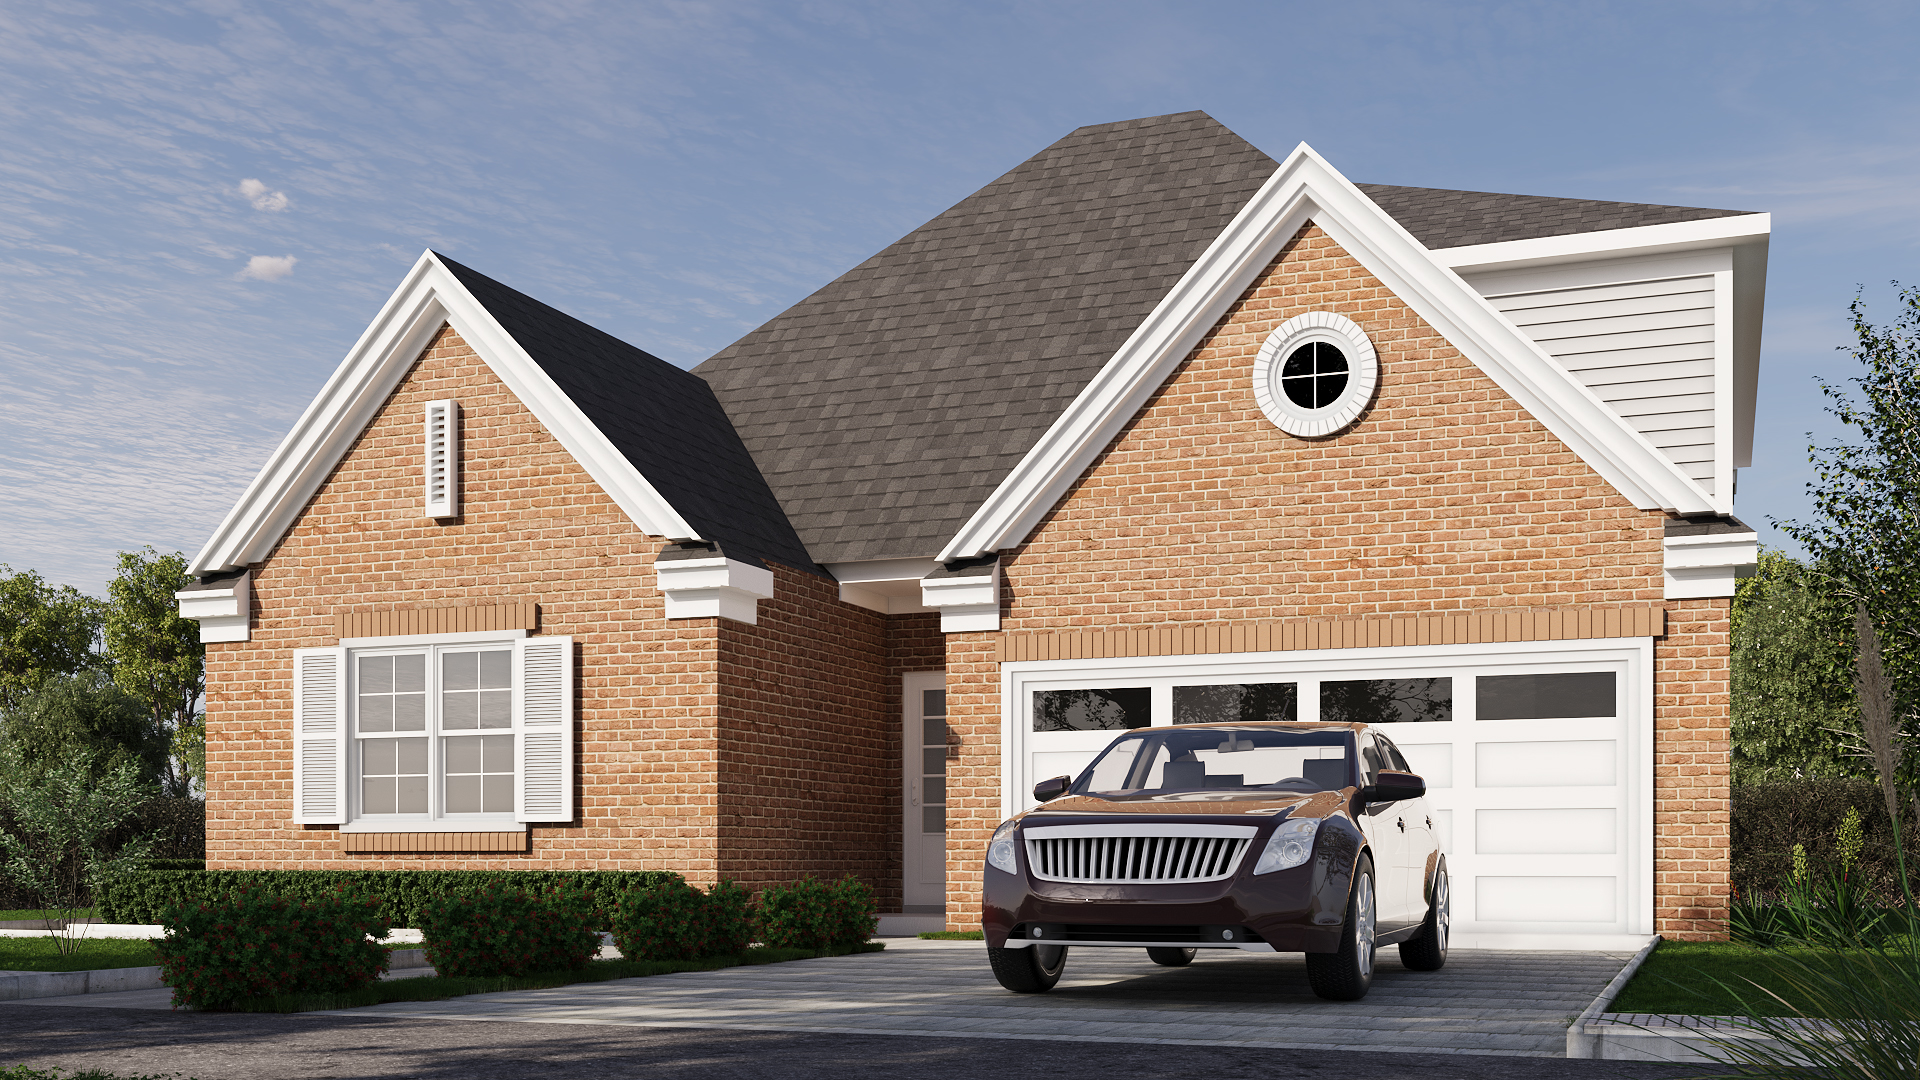
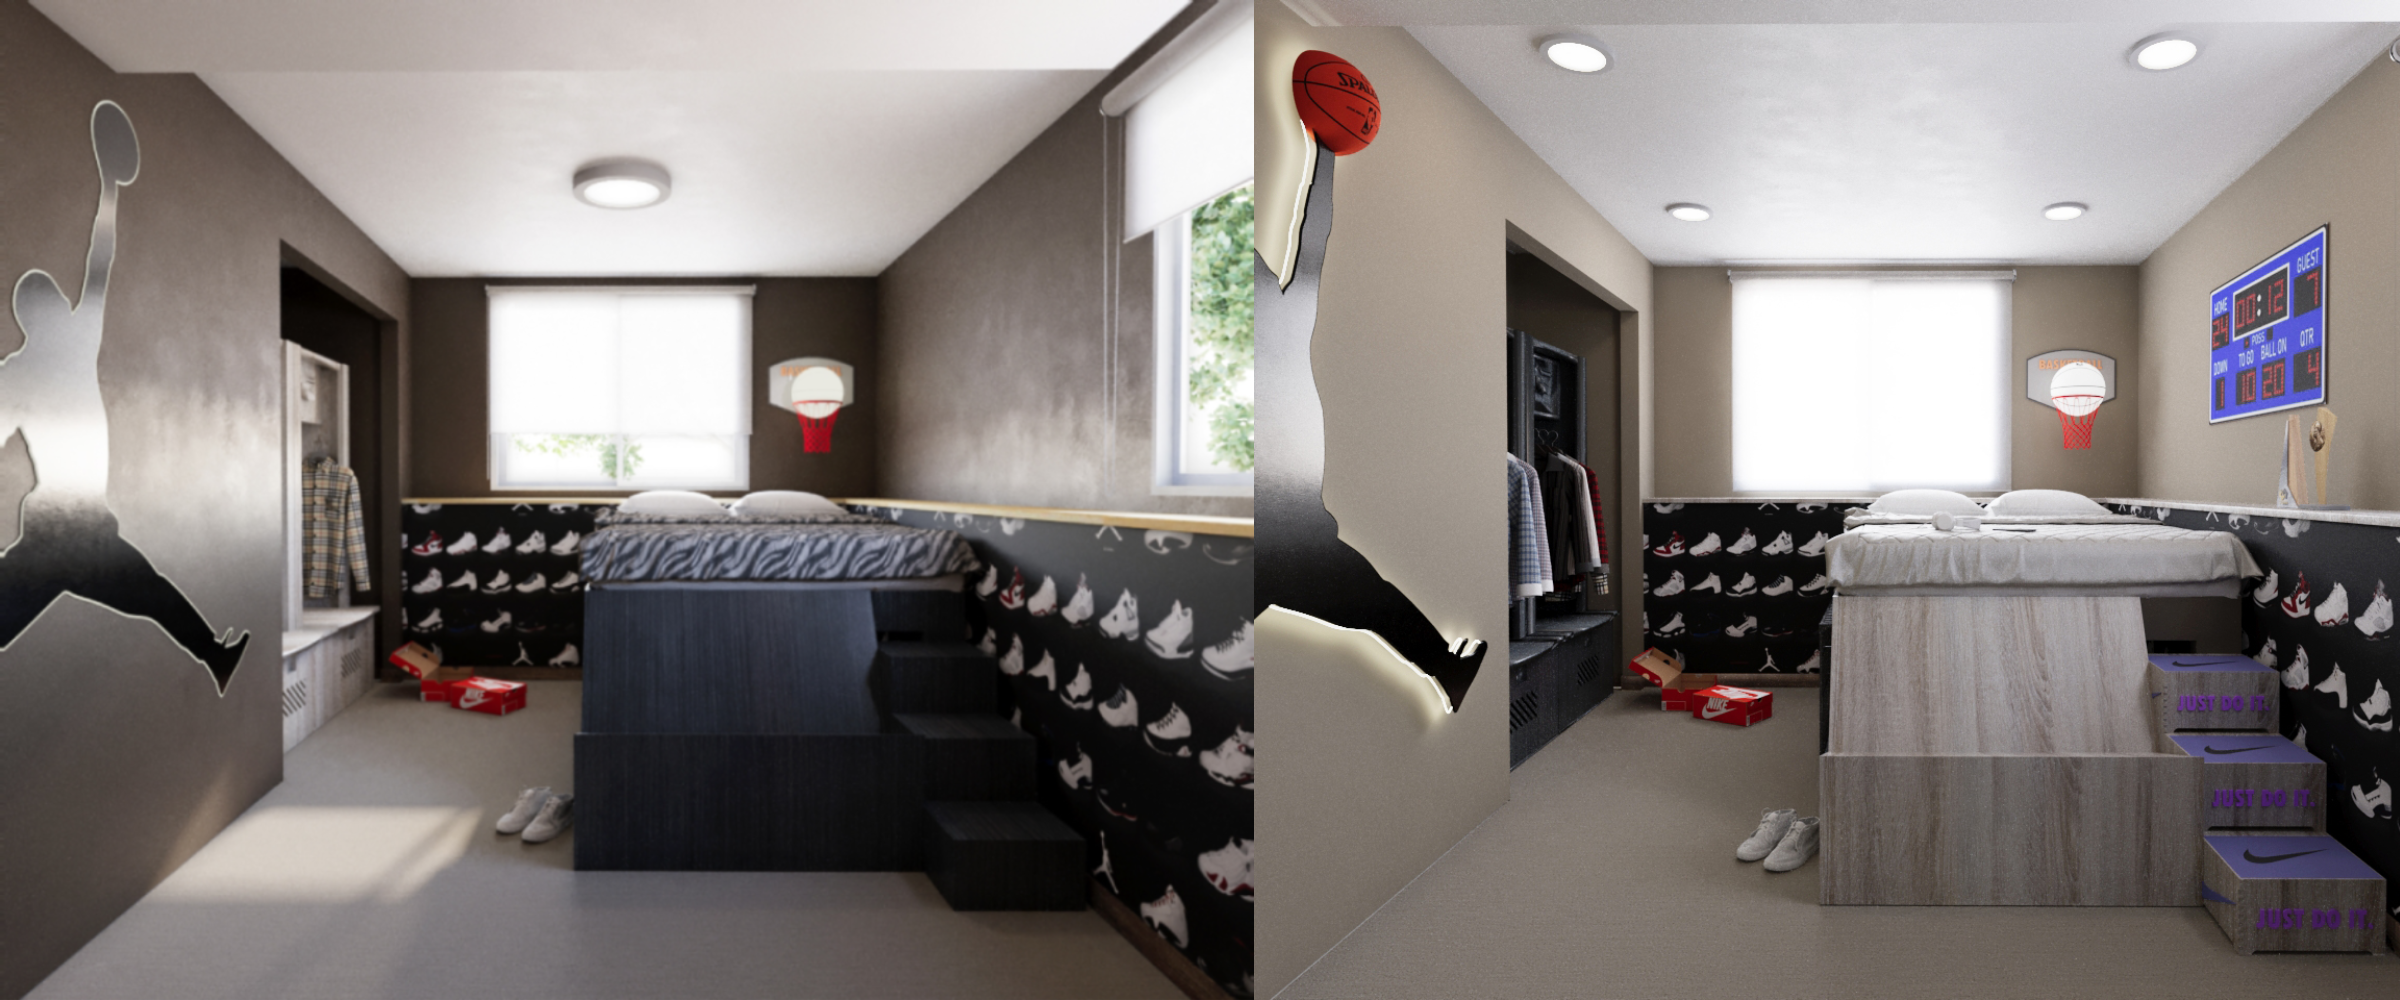
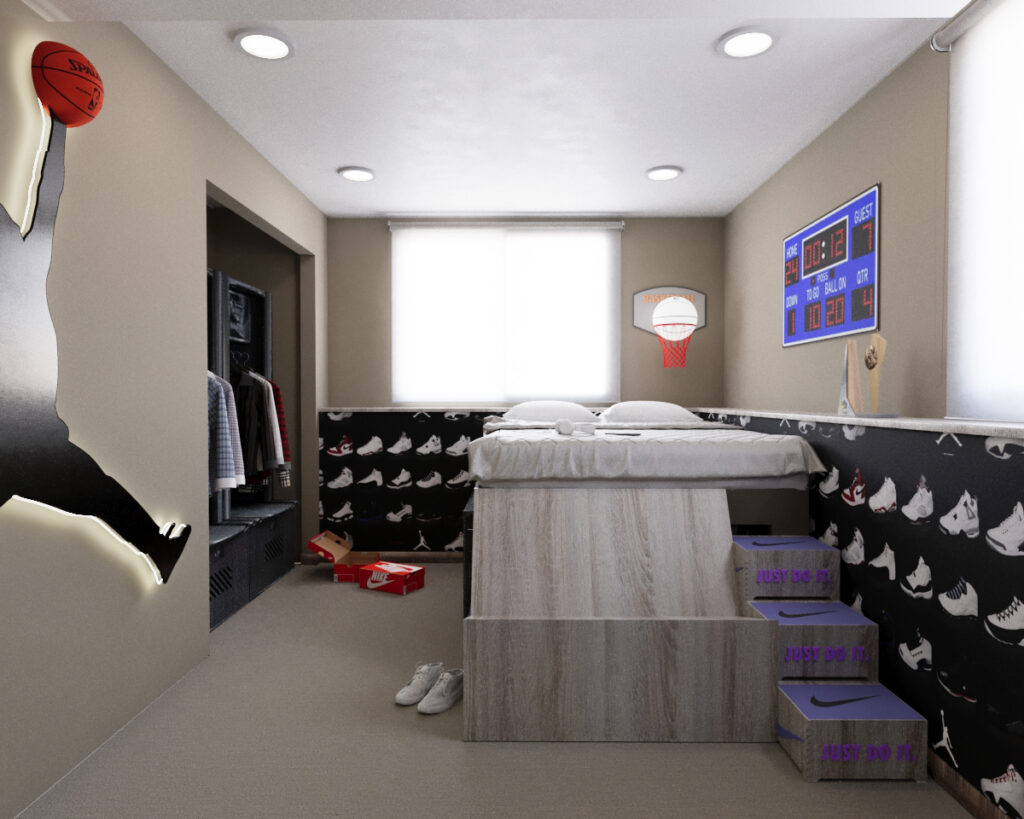
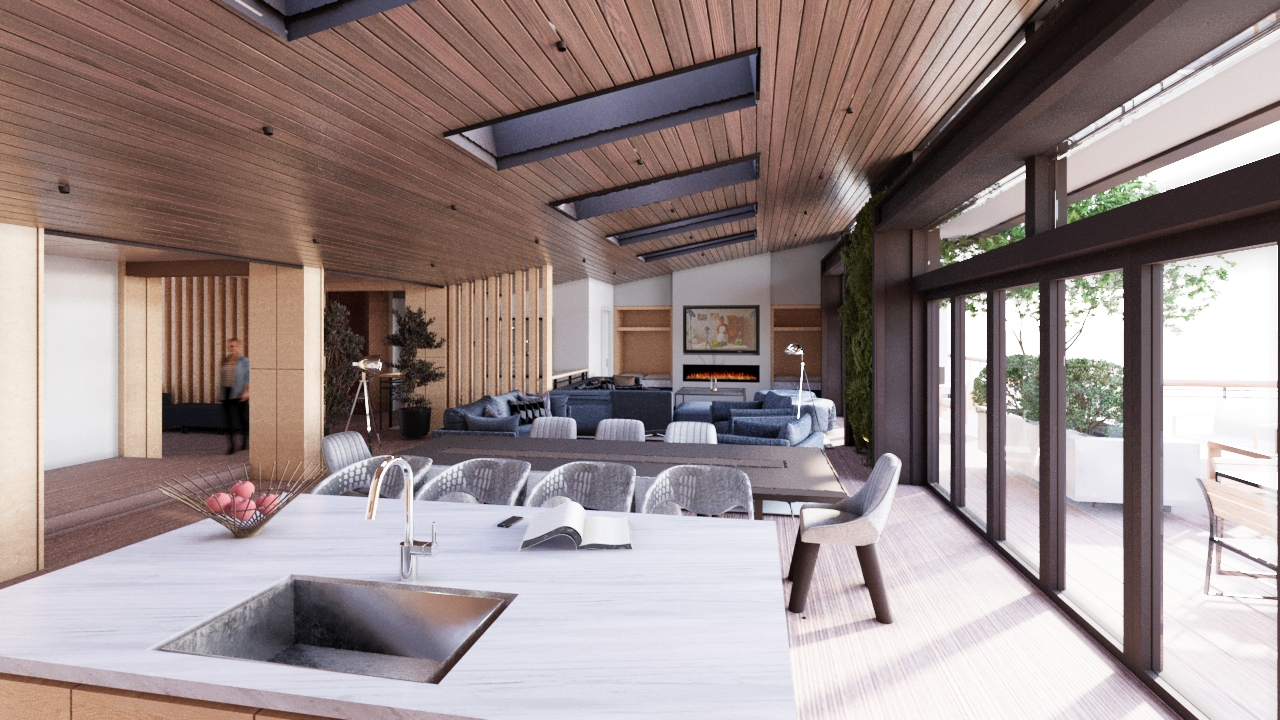
Architectural renderings have become a cornerstone in the design and construction industries. These visualizations not only communicate design concepts but also help clients and stakeholders envision the final outcome. Creating high-quality 3D renderings that are both realistic and visually appealing is crucial for success in the competitive field of architecture. In this blog post, we’ll explore six essential tips for producing exceptional architectural renderings. These tips will help you elevate your work, whether you’re a seasoned professional or just starting out.
1. Master the Art of Lighting
Lighting is one of the most critical aspects of creating realistic and compelling 3D renderings. The way light interacts with your scene can dramatically affect the mood, depth, and overall realism of the image. There are various lighting techniques you can use in architectural rendering, each serving a different purpose:
- Natural Lighting: Simulates sunlight or moonlight and is ideal for exterior scenes and daylight interiors.
- Artificial Lighting: Mimics indoor lighting, such as lamps and overhead lights, essential for night-time or interior scenes.
- Global Illumination (GI): Enhances realism by simulating the way light bounces off surfaces, creating soft shadows and natural lighting.
Experiment with different light sources and their placement to achieve the desired effect. Adjusting the intensity, color temperature, and angle of light can significantly alter the ambiance of your scene. When rendering interiors with visible exteriors (e.g., through windows), balancing interior and exterior lighting is crucial. Ensure that the brightness inside doesn’t overpower the natural light coming from outside, and vice versa.
2. Focus on High-Quality Texturing
Textures play a significant role in defining the material properties and overall realism of your 3D models. The quality of your textures can make or break a rendering. Always use high-resolution textures to avoid blurriness or pixelation, especially in close-up views. High-quality textures add detail and depth, making surfaces like wood, metal, and stone appear more lifelike.
Physically Based Rendering (PBR) textures are designed to mimic real-world materials accurately. They account for how light interacts with surfaces, resulting in more realistic renderings. PBR textures typically include maps for:
- Albedo (Color)
- Normal (Bump)
- Roughness
- Metallic
- Ambient Occlusion
Proper UV mapping ensures that textures are applied correctly to your 3D models. Avoid stretching or distortion by carefully unwrapping your models and adjusting the UV layout as needed. Don’t be afraid to mix different textures to create unique materials. For example, combining wood grain textures with subtle scratches and wear can produce a more convincing aged wood surface.
3. Optimize Your 3D Models
The quality of your 3D models is fundamental to the success of your architectural renderings. Optimizing models ensures they are detailed enough to look realistic without overwhelming your rendering software. While it’s important to include detail in your models, excessive complexity can slow down rendering times and make the scene difficult to manage. Focus on the most visible and significant elements, like building facades, furniture, and key decorative features.
For objects that require high detail, such as trees, cars, or intricate furniture, consider using proxies. Proxies are simplified representations of complex models that only load the full detail at render time. This helps reduce the overall scene complexity and speeds up the workflow. Overlapping geometry can cause rendering artifacts and increase rendering times. Ensure that all your models are properly aligned and that no surfaces are unnecessarily duplicated.
LOD techniques allow you to reduce the complexity of objects based on their distance from the camera. For example, objects far away from the camera can be rendered with fewer polygons, saving processing power without affecting the final image quality.
4. Perfect Your Composition
Composition is key to creating visually appealing and professional architectural renderings. It guides the viewer’s eye and enhances the storytelling aspect of the design. The Rule of Thirds is a classic composition technique that divides the image into nine equal parts, using two horizontal and two vertical lines. Positioning key elements along these lines or at their intersections creates a more balanced and dynamic composition. Use leading lines, such as roads, pathways, or architectural features, to guide the viewer’s eye through the scene. This technique adds depth and directs attention to important areas of the rendering.
The camera angle can drastically change the perception of your scene. Experiment with different viewpoints, such as eye-level, bird’s-eye, or worm’s-eye views, to find the most impactful perspective. Use natural elements like trees, doorways, or windows to frame the scene. This not only adds depth but also draws focus to the central subject, creating a more engaging composition.
5. Refine Post-Processing Techniques
Post-processing is the final step in creating a polished and professional architectural rendering. This stage allows you to adjust colors, add effects, and enhance the overall image quality. Fine-tuning colors and contrast can significantly impact the mood and realism of your rendering. Use color grading techniques to achieve the desired ambiance, whether it’s warm and inviting or cool and modern.
Ambient Occlusion (AO) adds subtle shading to creases, corners, and edges, enhancing the depth and realism of your rendering. Most rendering engines allow you to output an AO pass, which can be blended with the final image in post-processing. Bloom effects simulate the soft glow that occurs around bright light sources, adding a cinematic touch to your renderings. Similarly, lens flares and vignetting can add a sense of realism, mimicking the imperfections of real camera lenses.
Rendering noise can detract from the overall quality of the image. Use noise reduction techniques in your post-processing workflow to smooth out grainy areas, especially in low-light scenes.
6. Stay Updated with the Latest Tools and Trends
The field of 3D rendering is constantly evolving, with new tools, software, and trends emerging regularly. Staying updated ensures you remain competitive and continue to produce high-quality work. Invest in the latest rendering software that offers advanced features like real-time rendering, GPU acceleration, and support for PBR materials. Popular options include V-Ray, Corona Renderer, Lumion, and Unreal Engine.
AI and machine learning tools are becoming increasingly prevalent in 3D rendering. These technologies can automate complex tasks, such as texture generation, lighting optimization, and noise reduction, saving you time and improving efficiency. Keep an eye on industry trends, such as the rise of virtual reality (VR) and augmented reality (AR) in architectural visualization. Incorporating these technologies can provide added value to your clients and set you apart from competitors.
Never stop learning. Regularly participate in online courses, webinars, and workshops to enhance your skills and stay ahead of the curve. Engage with the 3D rendering community through forums, social media, and industry events to exchange knowledge and gain inspiration.
Conclusion
Creating exceptional architectural renderings requires a combination of technical skill, artistic vision, and attention to detail. By mastering lighting, texturing, model optimization, composition, post-processing, and staying updated with the latest tools and trends, you can elevate your work to new heights. Whether you’re aiming to impress clients, win design competitions, or simply improve your portfolio, these six tips will guide you toward producing high-quality 3D renderings that stand out in the competitive world of architectural visualization.

